How Community Murals Are Made: From Idea to Wall
Community murals and collaborative art projects don't start with paint. They start with people.
Behind every community mural is a process rooted in listening, collaboration, and trust. From the first conversation to the final brushstroke, each step is designed to make sure the artwork reflects the place it lives in and the people who interact with it every day, fostering a sense of shared ownership.
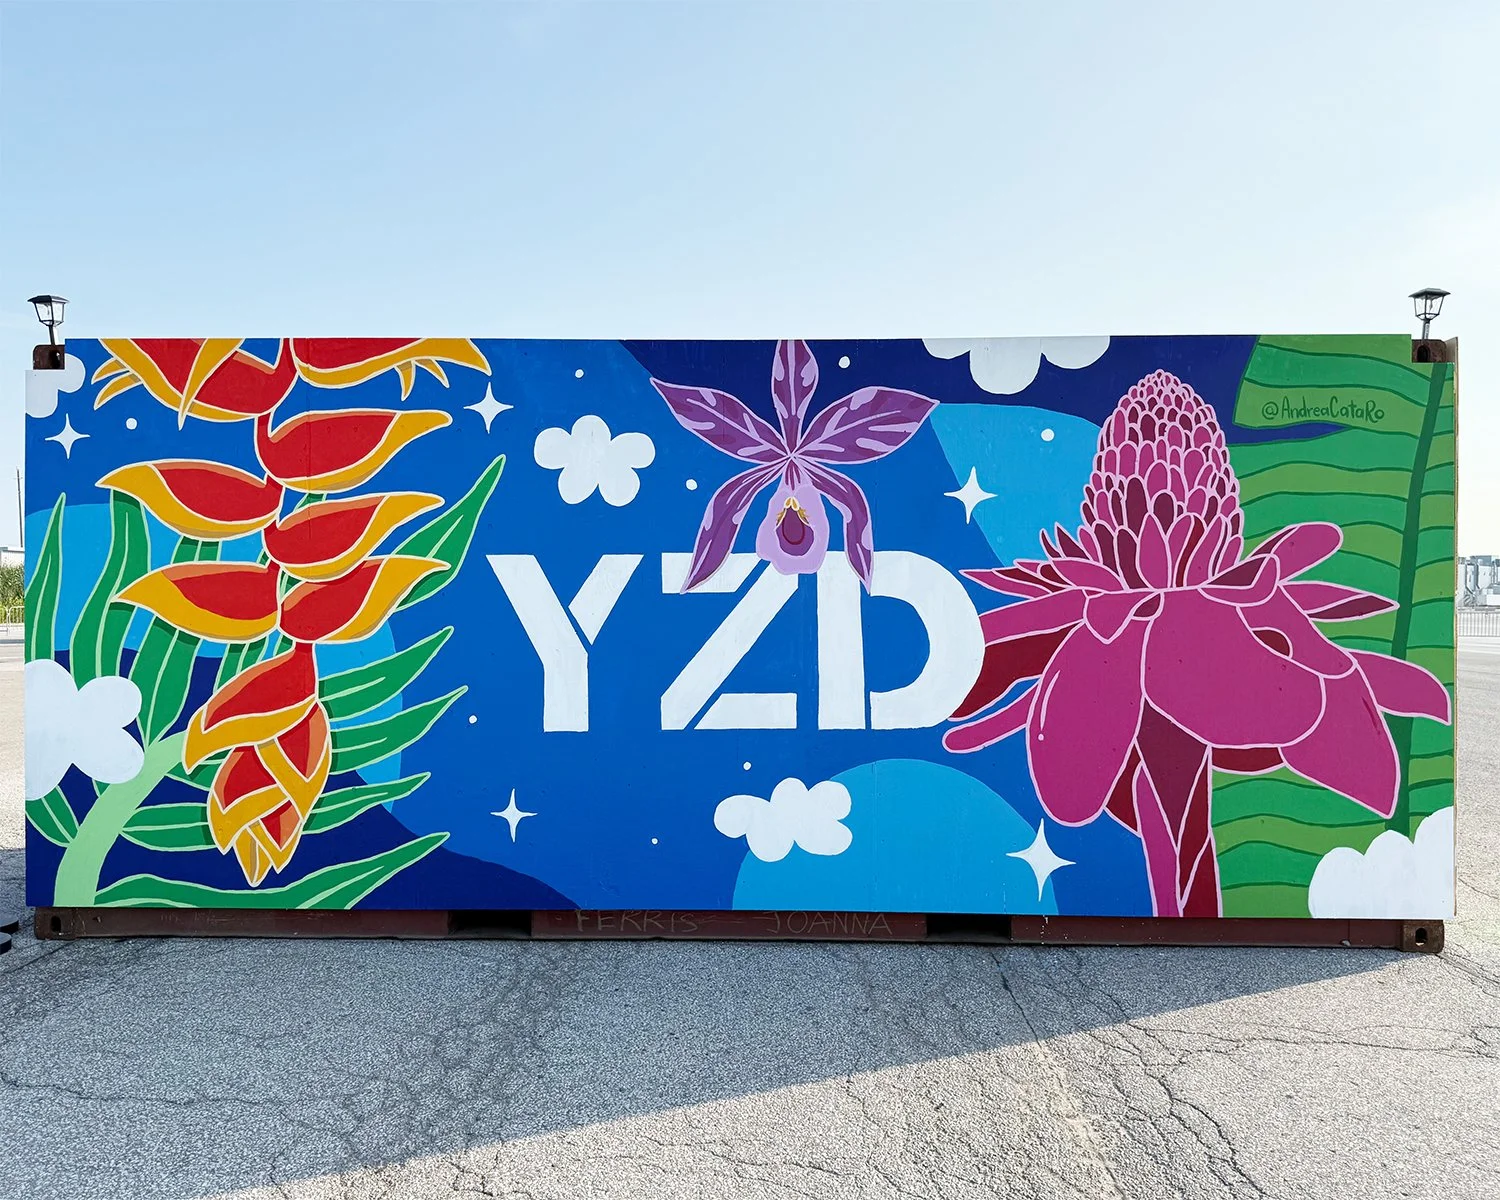
Community mural in Toronto created by mural artist AndreaCataRo.
Step 1: Listening to the community
The first stage of a community mural is conversation. This can involve meetings with local organizations, residents, business owners, and community partners to ensure diverse voices are heard. The goal is to understand the area's history, the community's values, and which stories feel important to share.
This step sets the foundation. A mural that feels meaningful doesn't happen by accident. It happens when people feel seen and heard early in the process.
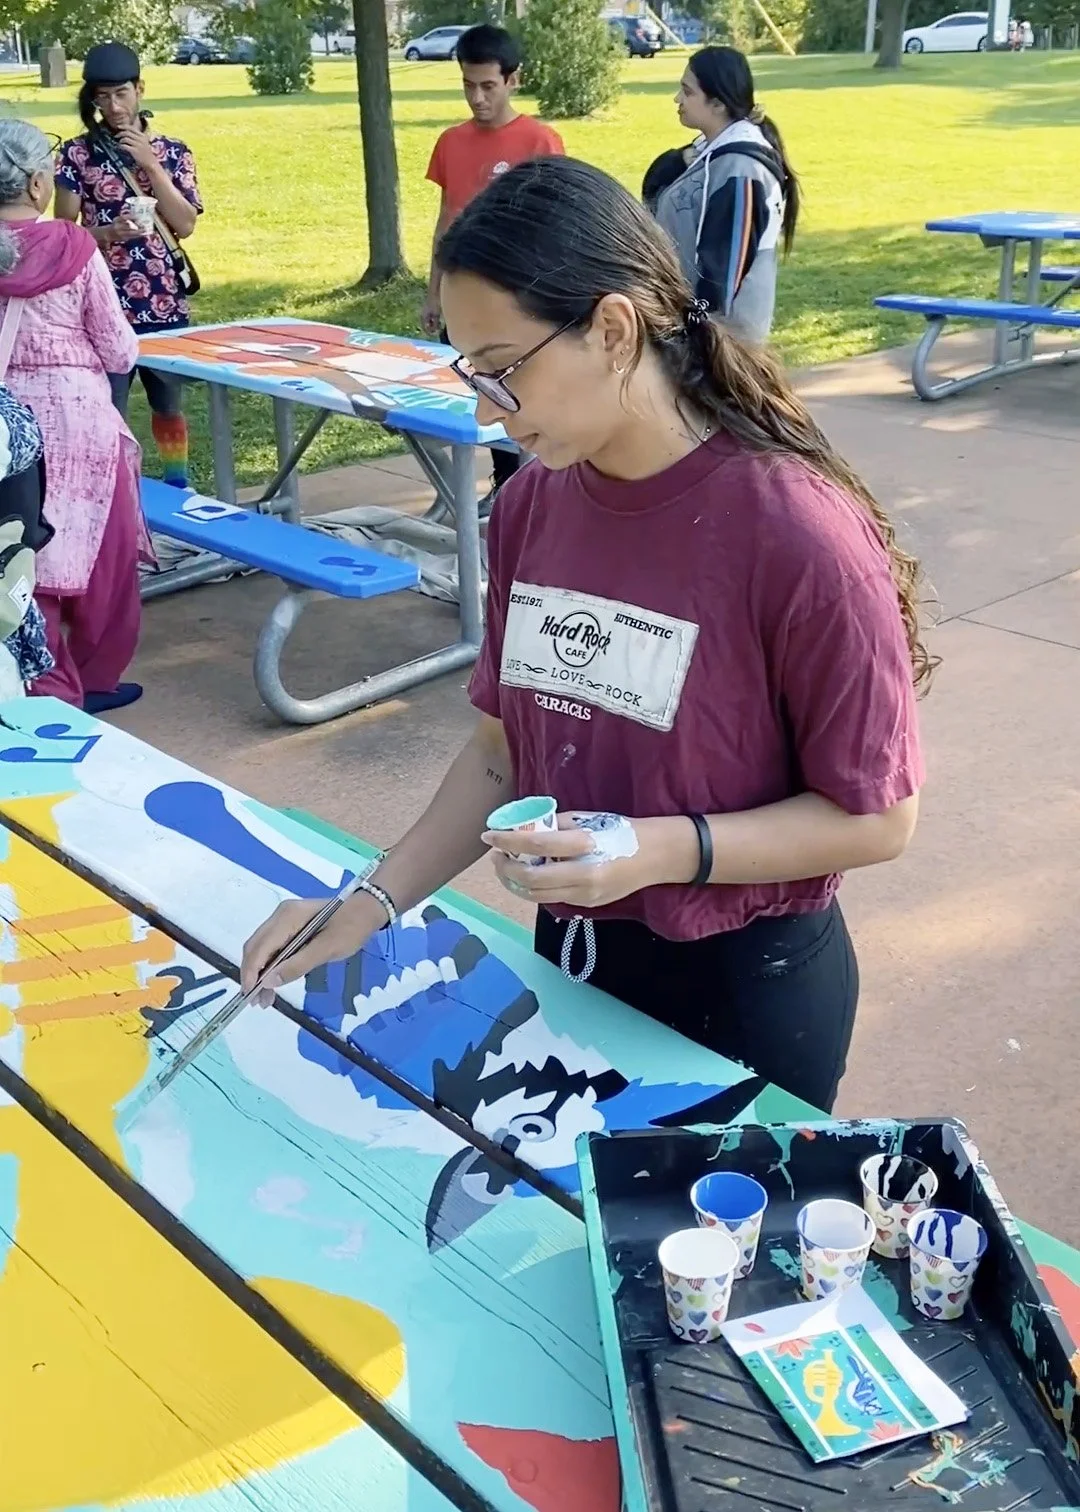
Community-engaged public art project featuring painted benches and tables in Toronto
Step 2: Translating ideas into visual language
Once themes and ideas are gathered, they are translated into visual concepts. This includes sketching, colour exploration, and developing imagery that feels accessible and welcoming.
For Community murals and collaborative art projects, clarity matters. The artwork needs to communicate across ages, cultures, and languages while still feeling expressive and vibrant.
Step 3: Design review and alignment
Before anything is painted, designs are shared for feedback. This stage allows space for refinement, adjustments, and alignment with community partners, helping to navigate disagreements and ensure everyone feels heard.
Taking time here helps avoid misunderstandings later and ensures the final mural reflects shared intentions rather than assumptions.
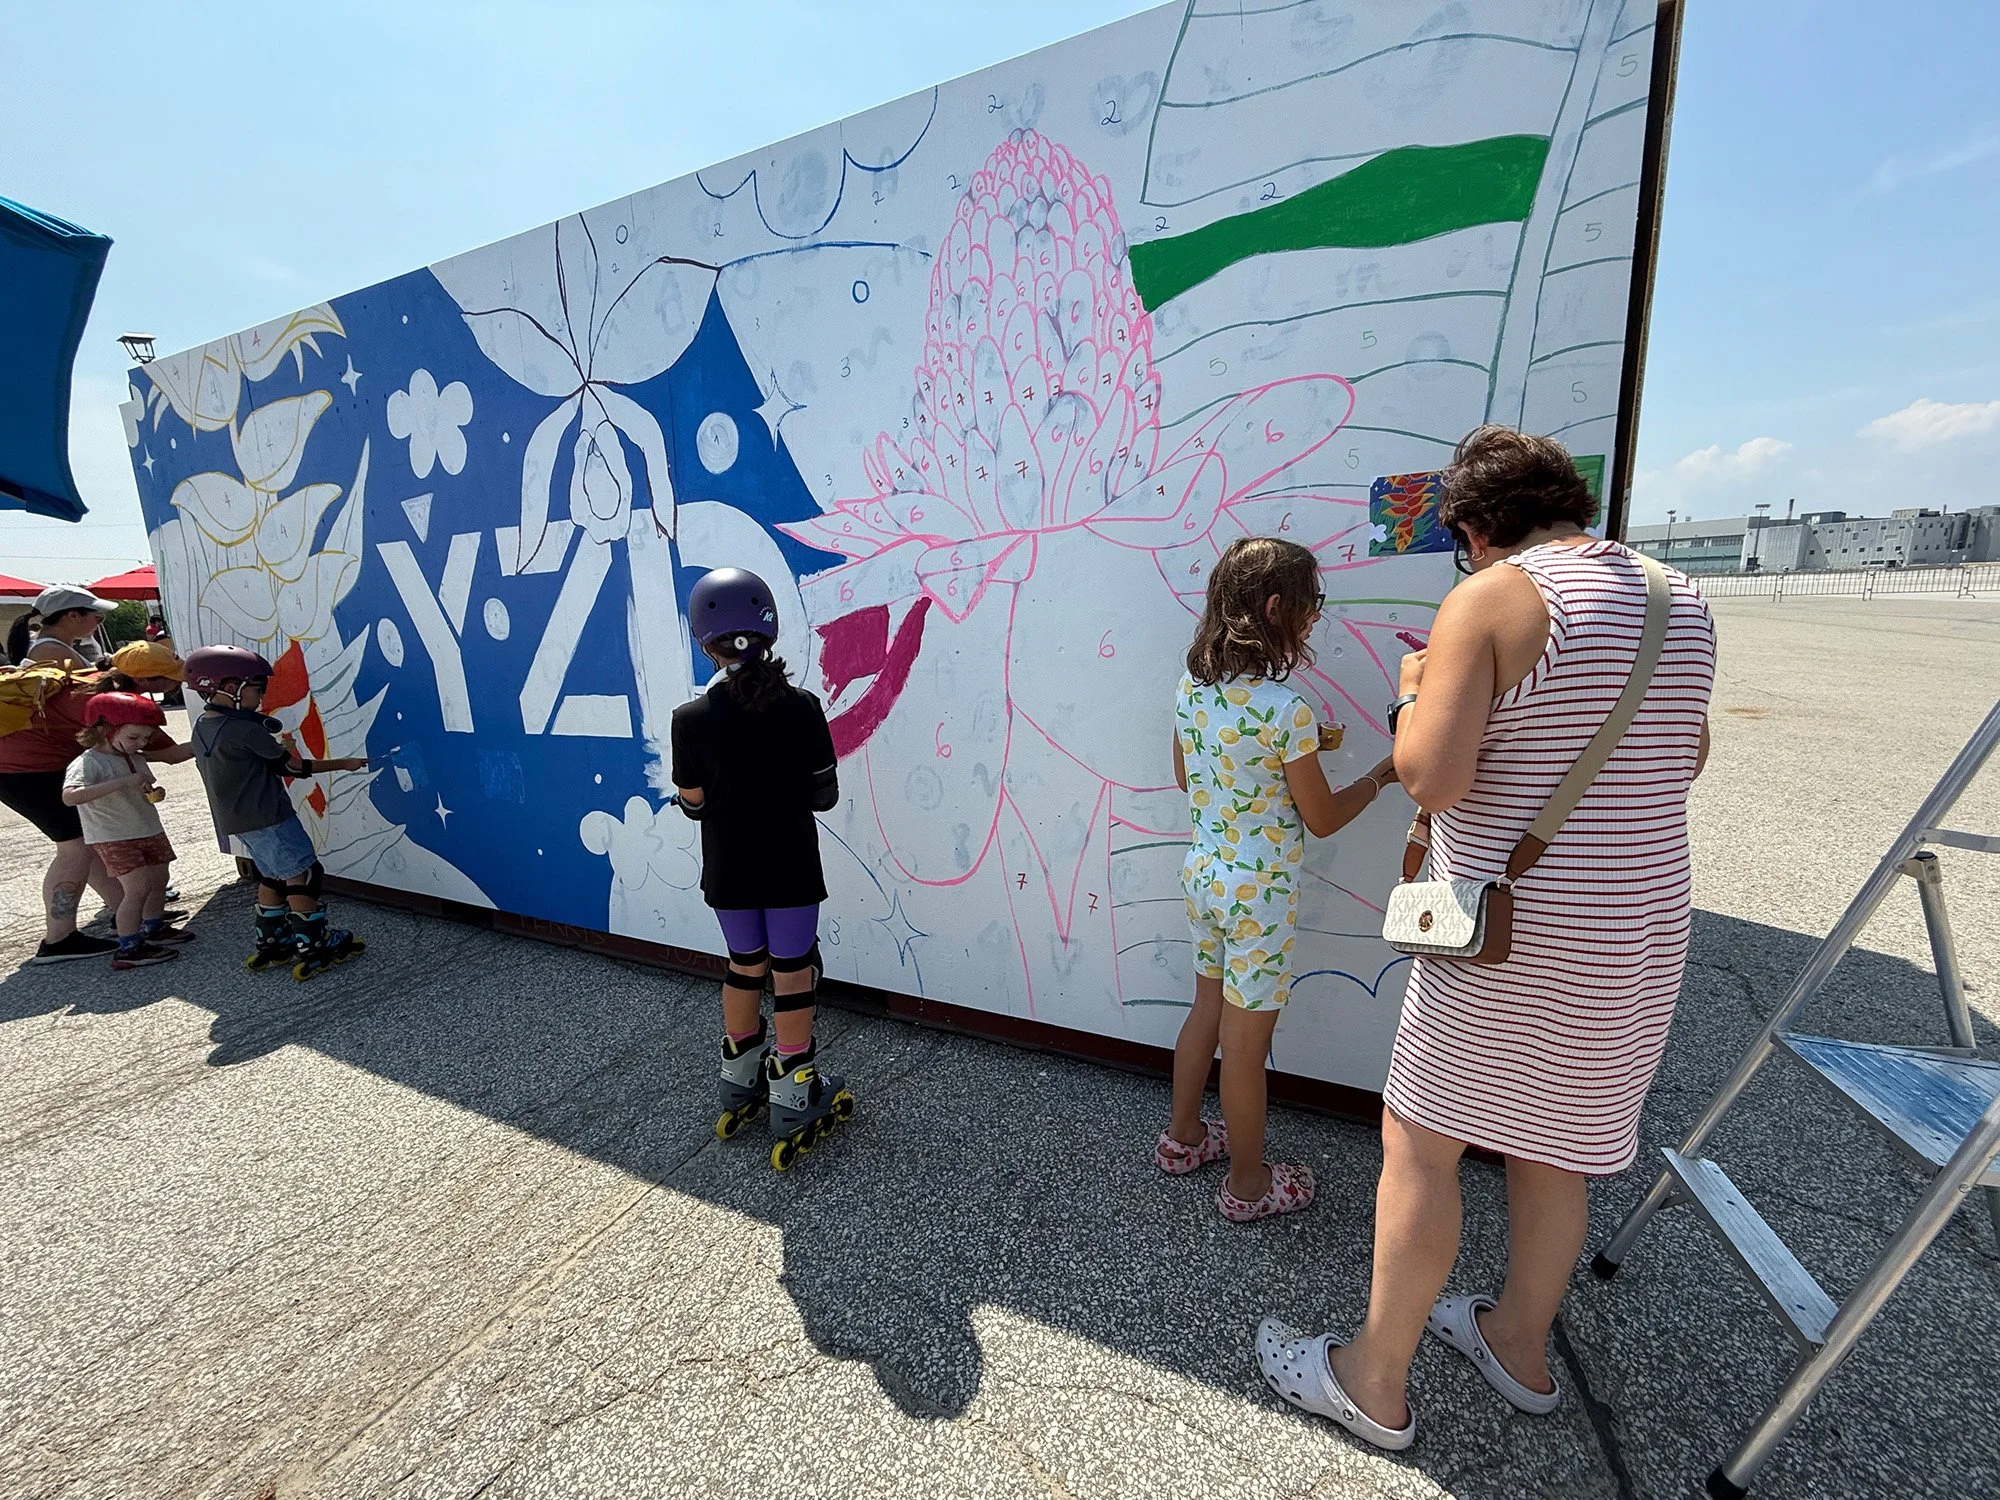
Step 4: Preparing the site
Preparation is a crucial but often overlooked part of community mural work. This includes surface prep, priming, gathering materials, coordinating access, planning timelines, and securing funding or resources needed for the project to succeed.
Good preparation ensures the painting phase runs smoothly and safely.
Step 5: Painting together through guided participation
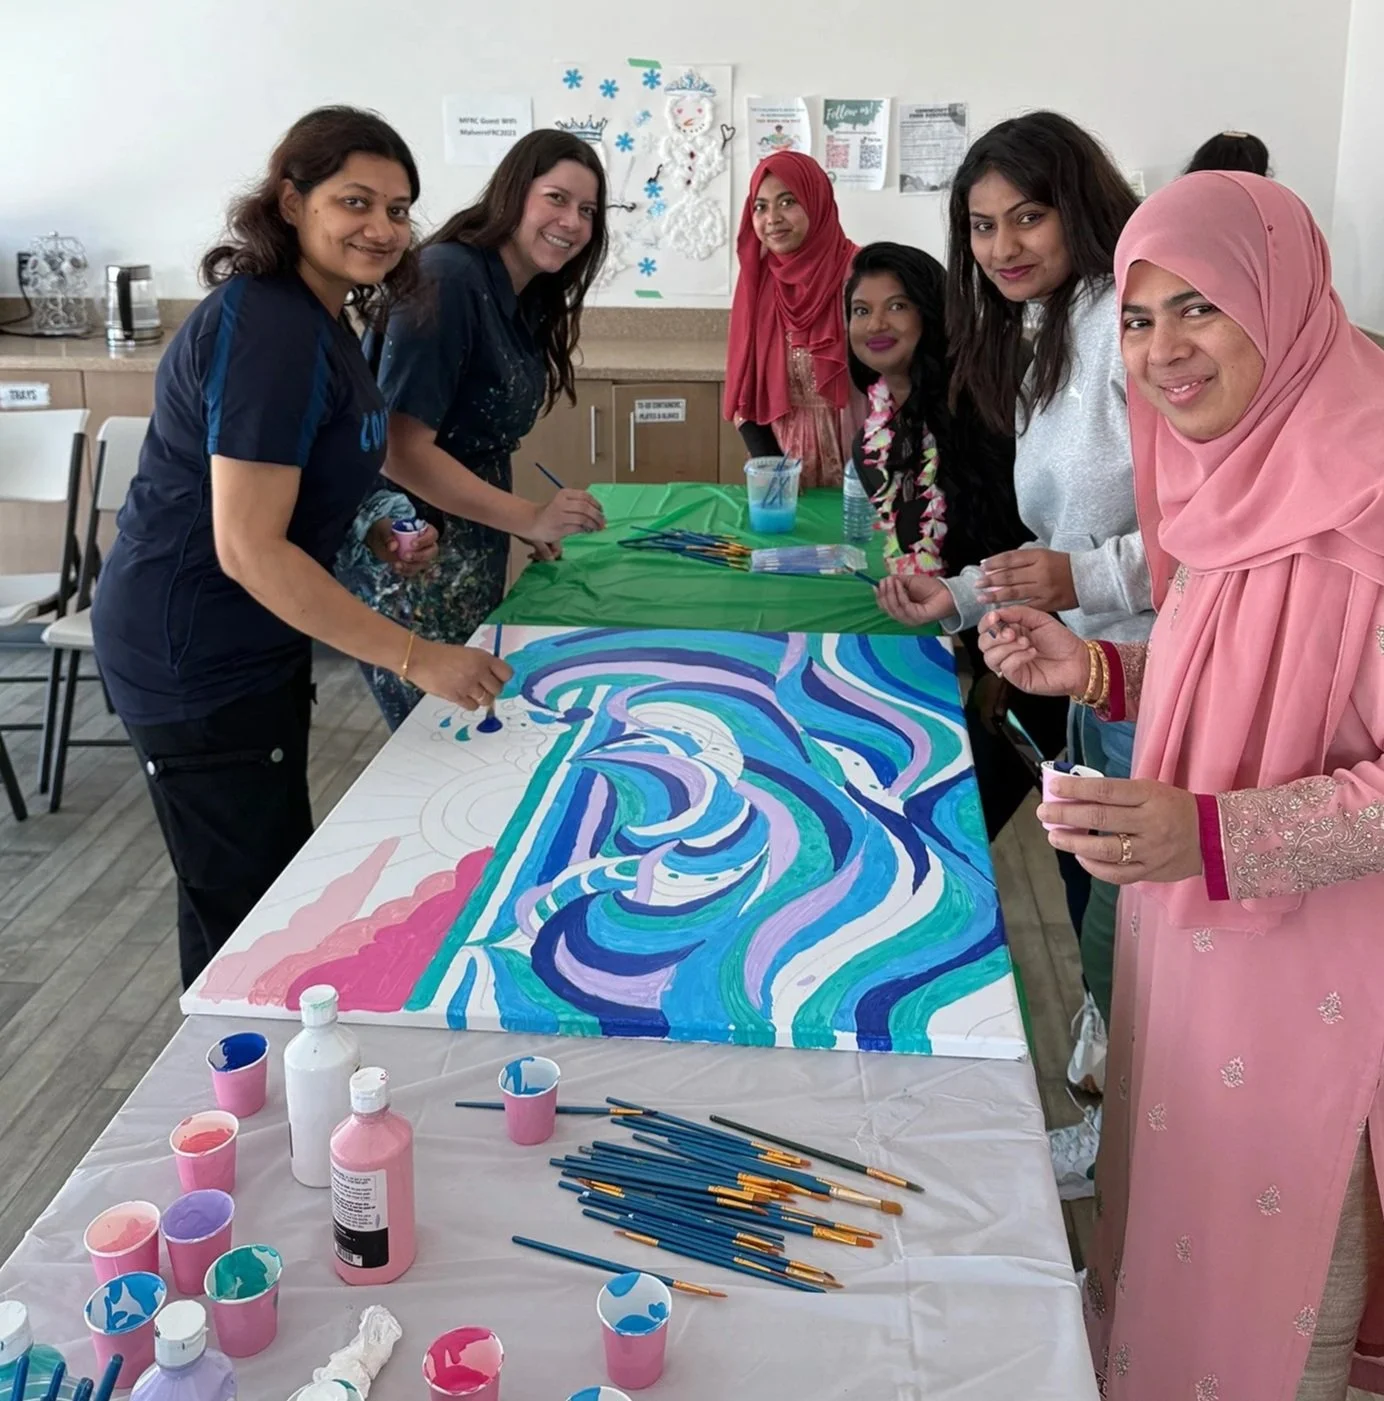
AndreaCataRo facilitating a community engaged art project in Toronto
The painting phase is where ideas come to life. Depending on the project, this may involve volunteers, youth participants, or community members contributing under guidance.
Creating together builds ownership. People don't just see the mural as something added to their space, but as something they helped shape.
Community members participating in a collaborative mural painting project led by AndreaCataRo.
Step 6: A mural that belongs to the place
When a community mural is finished, it becomes part of the neighbourhood's visual language. It holds stories, memories, and shared effort.
Successful collaborative art projects aren't just about aesthetics. They're about connection, representation, and care.